Do you ever find yourself struggling to write or edit documents in Google Docs, Sheets, or Slides? If so, you’re not alone. Fortunately, there’s a solution that can help make your work more efficient and enjoyable. By using ChatGPT within these productivity tools, you can access a powerful language model that offers advanced writing and editing capabilities.
Google Docs is one of the most popular and best online word processes, with more than 25 million users 👥 around the globe. We use Google Docs for different purposes, like creating proposals, assignments, articles, and more. But these days, many users are constantly finding a way to use ChatGPT with Google Docs.
Therefore, it can help them in the writing process 📝 and make it easy and more efficient with its powerful capabilities. Some users are also searching for a way to use ChatGPT with Google Sheets to generate blog topics, analyze sentiments, and more. 😉 At last, a set of users are constantly searching for a way to use ChatGPT with Google Slides as well.
Fortunately, there are some legit ways 🛠️ to use ChatGPT with Google Docs, Sheets, and Slides. Here in this guide, we’ve explained all the possible ways to add and use ChatGPT with Google Docs, Sheets, and Slides. 😃 You can use any of the below-mentioned methods to use ChatGPT with your favourite platform and use its powerful capabilities.
So, let’s get started.
Note: We are not affiliated with the extensions mentioned in this guide, but we did find that the services do deliver very well for our needs.
What Can You Do With ChatGPT?
These days, ChatGPT is on everyone’s mind, but they still don’t know enough about it. In layman’s language, ChatGPT is an AI-powered chatbot that’s programmed to understand the human language very well and generate responses accordingly 🤖. It uses the data present on the internet to answer your questions with great accuracy level.
It’s one of the largest and most powerful language-processing artificial intelligence models in the market. You can use it to write assignments, presentations, and emails, generate blog topics, get information about anything, etc. Though it answers our questions by analyzing 175 billion parameters present out there, it still doesn’t always provide accurate results.
You can now move to the following section to add and use ChatGPT with Google Docs, Sheets, and Slides.

How to Add ChatGPT to Google Docs?
There are two methods to add ChatGPT to Google Docs. Here in this section, we’ve explained all the two methods in detail. Along with that, we’ve also attached screenshots to guide you better. You can follow any of the mentioned methods to add ChatGPT to Google Docs.
Note: The same methods apply to Google Slides.
1. Using OpenAI API Keys
One of the ways to add the ChatGPT shortcut in the top ribbon menu of the Google document is by using the OpenAI API key. To do this, you need to first get a new API key from your OpenAI account and use it to integrate the ChatGPT tool into a Google document. You need to integrate it using the built-in Apps Script feature.
Follow the below-mentioned steps to know how to do the same:
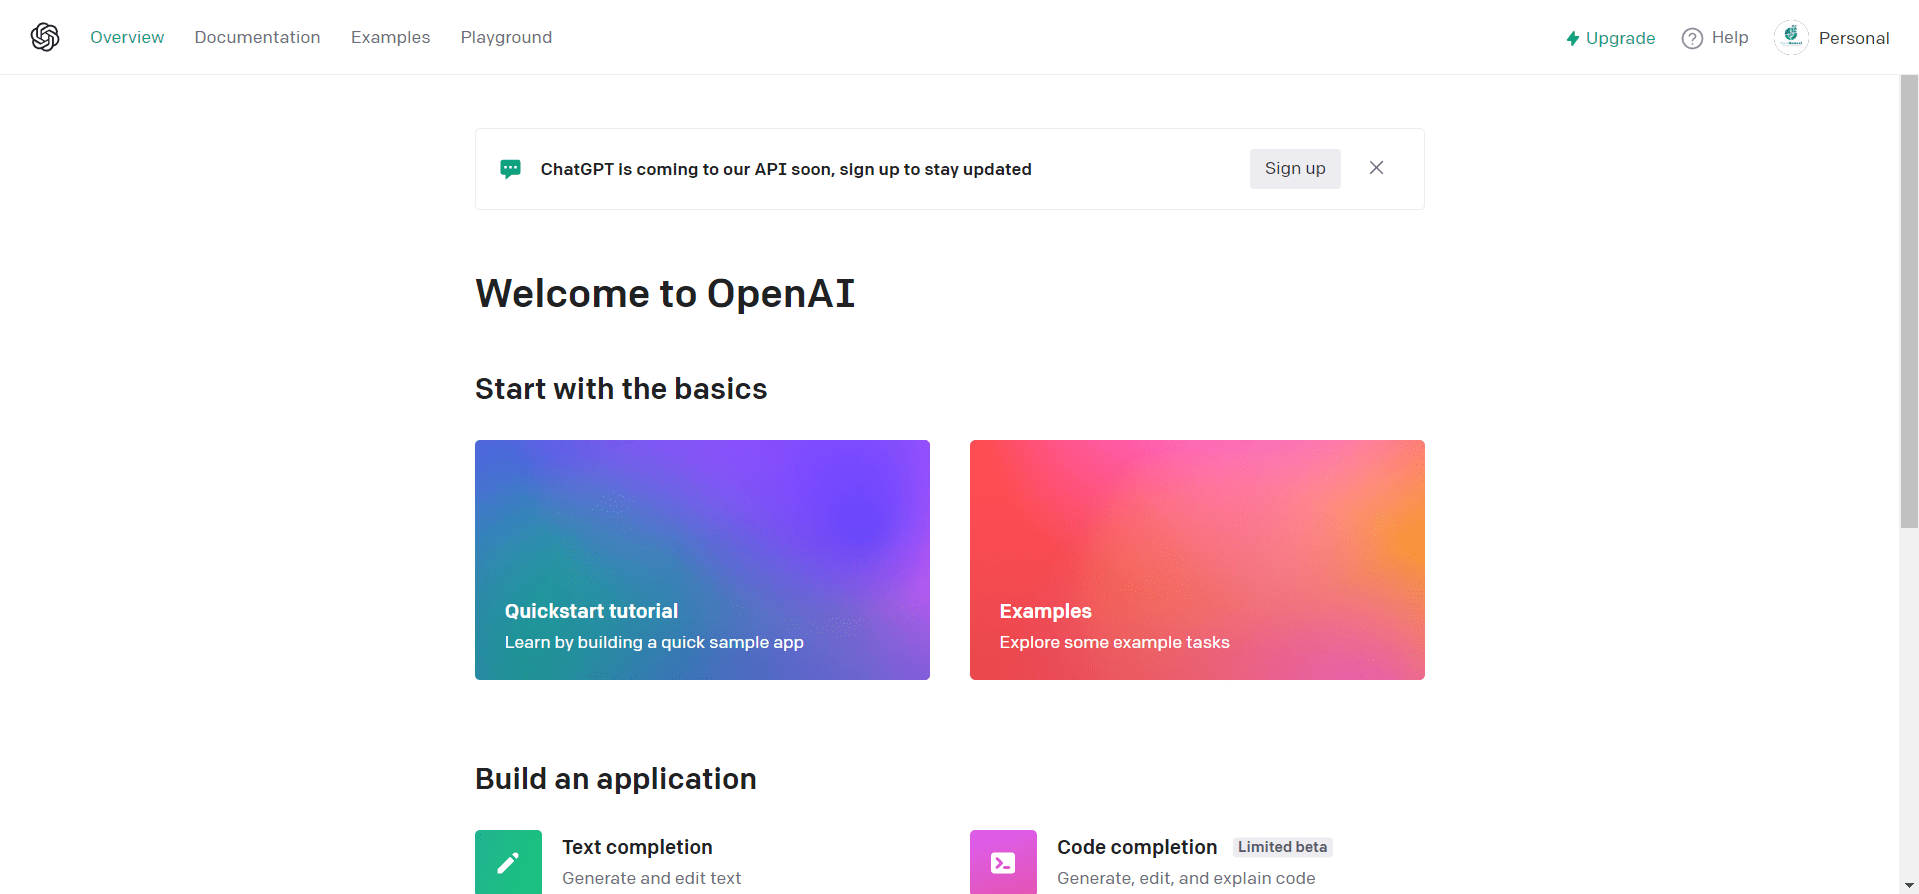
- To start, visit OpenAI’s website and sign in to your account. If you don’t have an account on OpenAI, you’ve to create one. For that, click on Sign up at the top right corner of the tab and easily create a new account by providing the essential details.
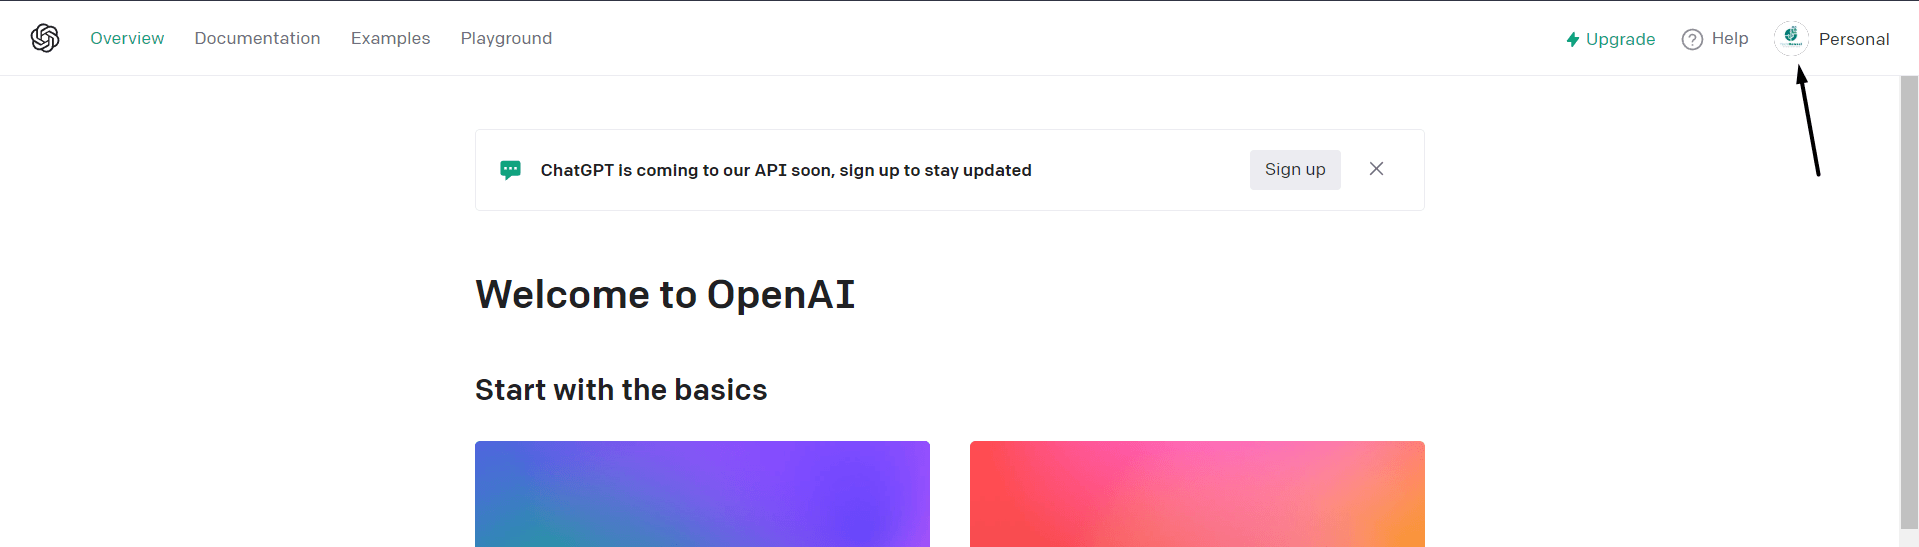
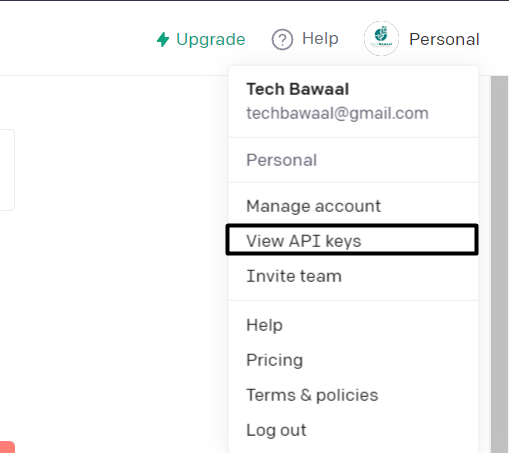
- After creating a new OpenAI account or signing in to your existing OpenAI account, click on your profile photo at the top right edge of the website.
- Select the View API keys option from the dropdown menu to open the API keys section to generate a new OpenAI API key.
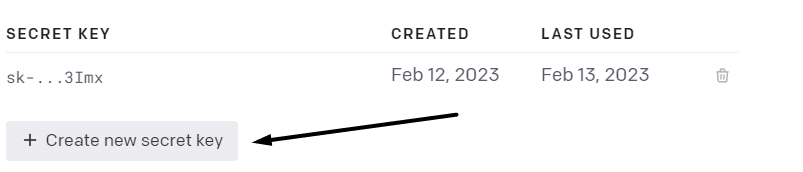
- Once moved to the API keys section, click on the + Create a New Key button under the same section and wait for it to generate a new key.
- Now, you’ll see a new API key in the API key-generated prompt. You need to now copy the API key, as it’ll disappear after clicking the OK button.
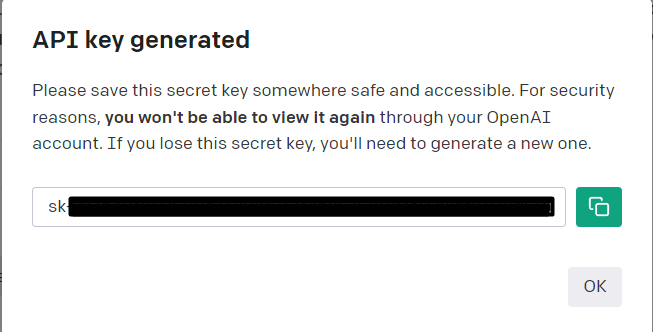
- After copying the API key, click on the OK button to close the prompt and then visit docs.google.com on your web browser to open Google Docs.

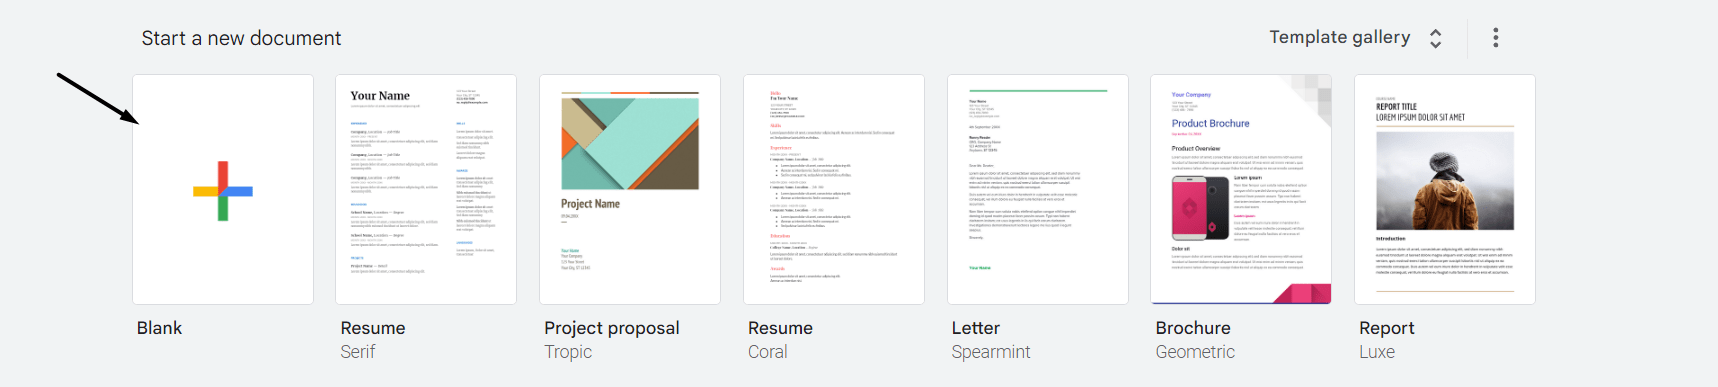
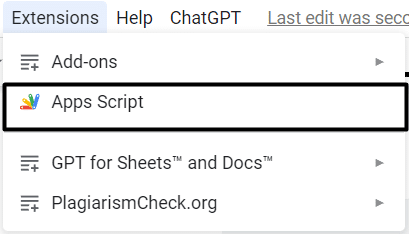
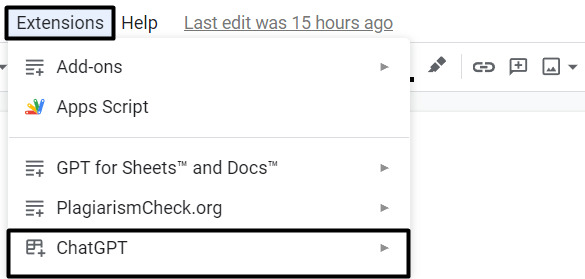
- Then, create a new Google document by clicking on the Plus logo icon and then clicking on the Extensions option in the top ribbon menu.
- After doing so, select the Apps Script option from the menu and copy-paste the code mentioned in the attached link into the script editor.
- Once you’ve pasted the code in the script editor, search for xxxxxxxxxxxxx in the script and replace it with your OpenAI API key.
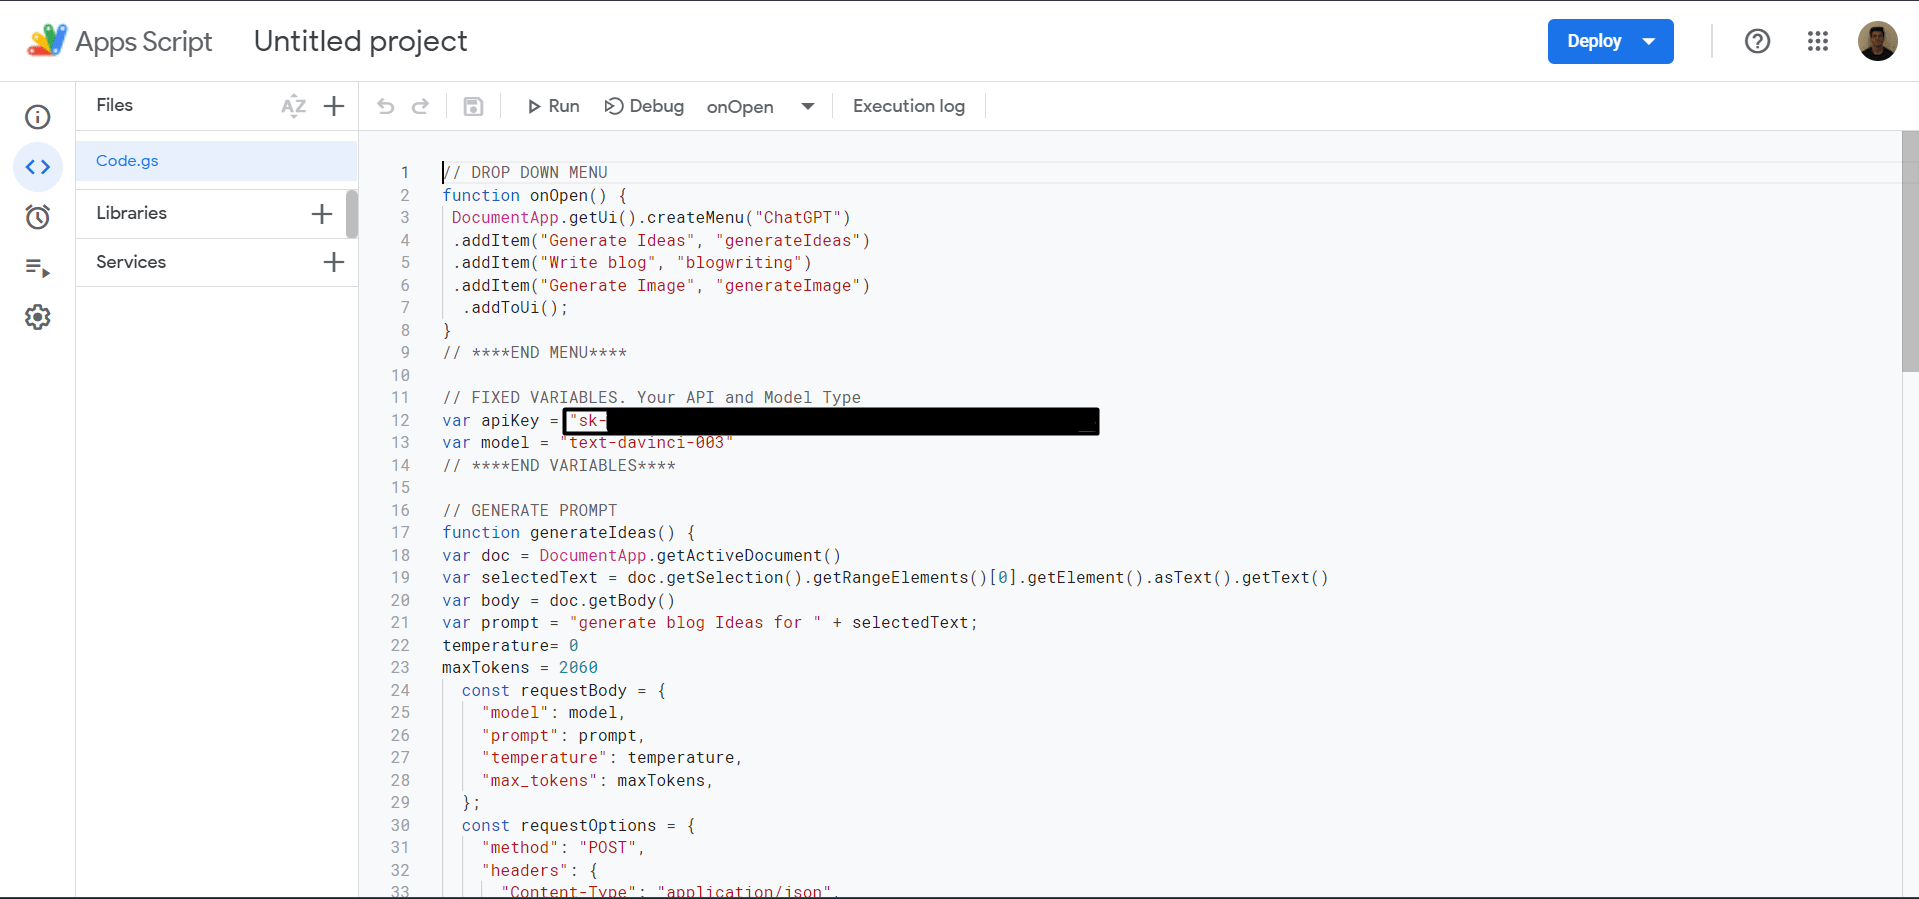
- You need to now click on the Floppy Disk button in the top ribbon menu to save the script.

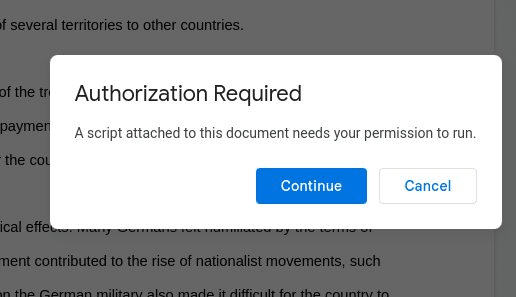
- After saving the script, click the Run button and then click on the Review permissions button in the Authorization required prompt.
- In the end, select the account, click on Advanced on the next window, and then click on the Go to [Project Name] (unsafe) option.
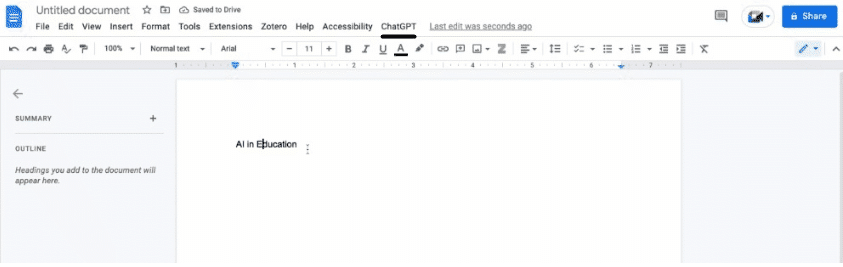
That’s it! You’ll now see the ChatGPT option in the top menu bar next to Help.
2. Add ChatGPT to Google Docs Without Any Extension & API Keys
The biggest disadvantage of the previous method is that you’ve to perform the same steps repeatedly on every Google document. For example, you need to run the same script again and again after creating every document to add and use ChatGPT with it. Due to this hassle, it might not be convenient for some users.
If you don’t want to follow the same steps again and again, check this method. We’ve created a Google document in which we’ve already integrated ChatGPT. You simply need to make a copy of the document and start working. You won’t need to follow the same steps again and again and make efforts on it.
Simply select the question that you want ChatGPT to answer and click on a button to get the answer in seconds. You can check the below steps to learn how to access the ChatGPT-integrated document and use it:
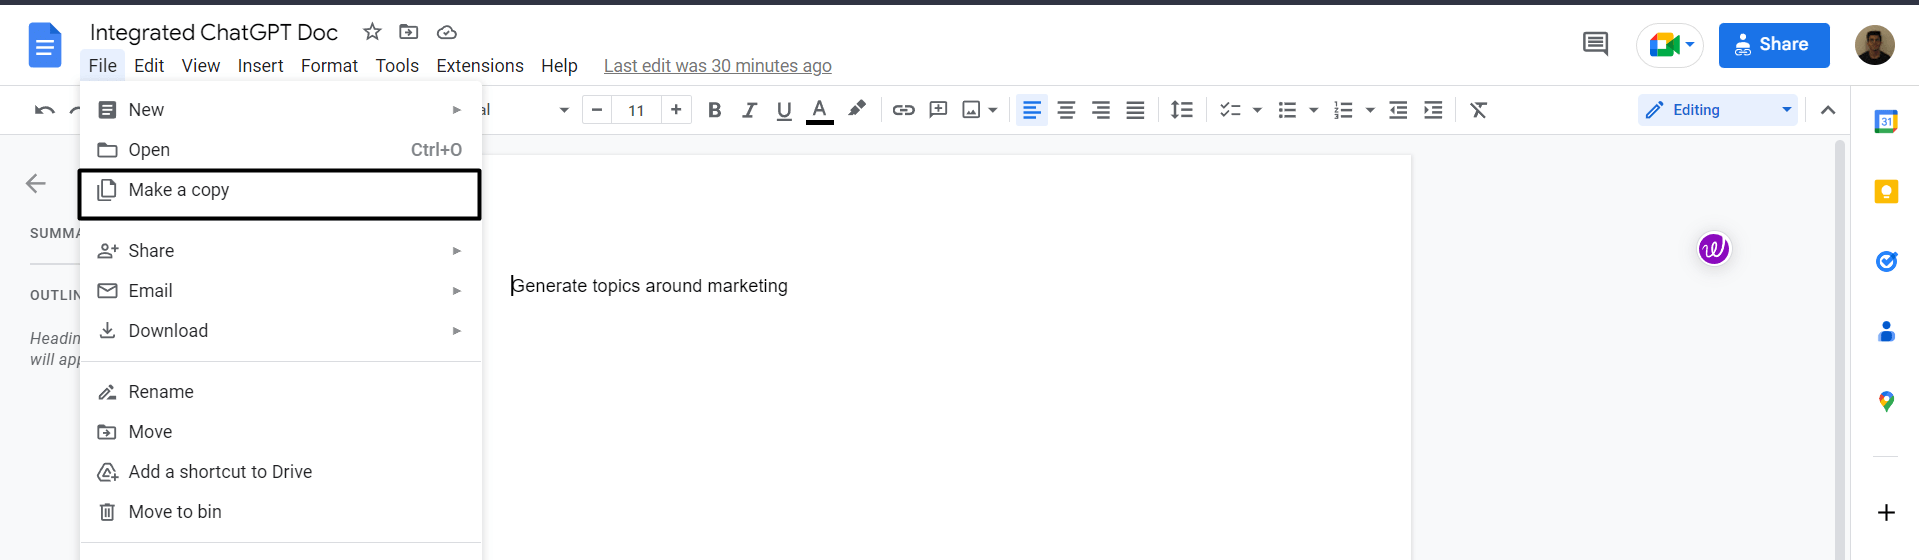
- To start, click Here to open the ChatGPT-integrated Google document, and then click on File in the top ribbon menu.
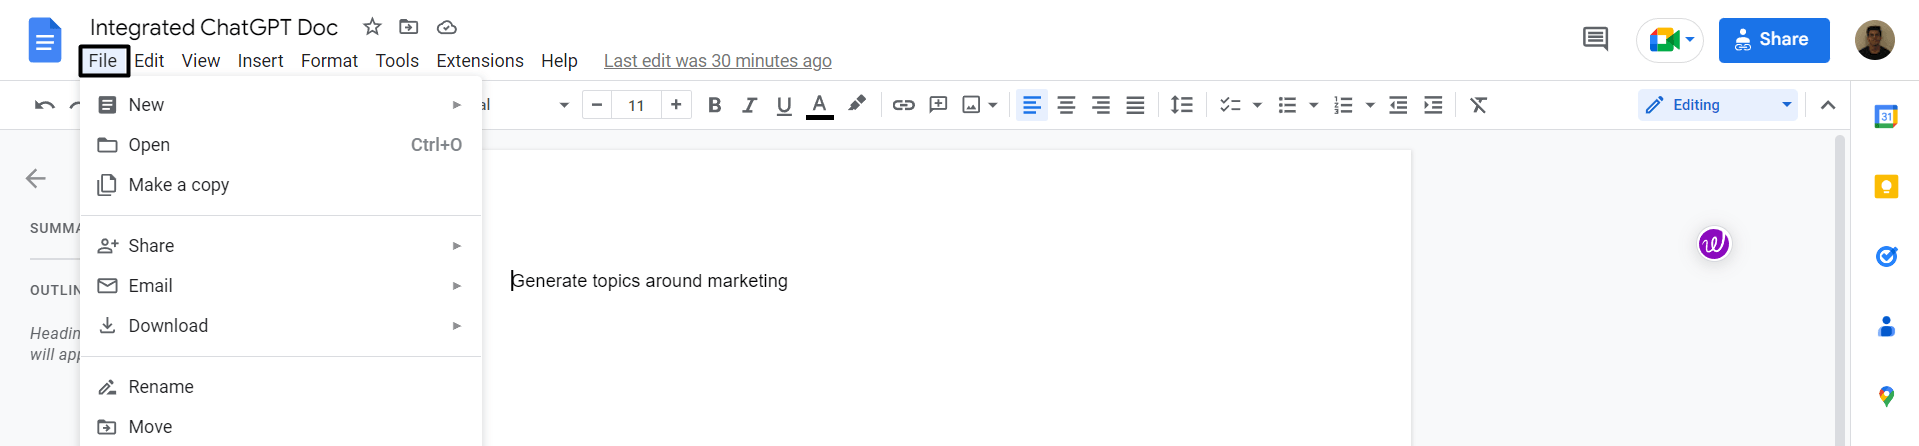
- Subsequently, select the Make a copy option from the dropdown menu to create a copy of our ChatGPT-integrated Google document.
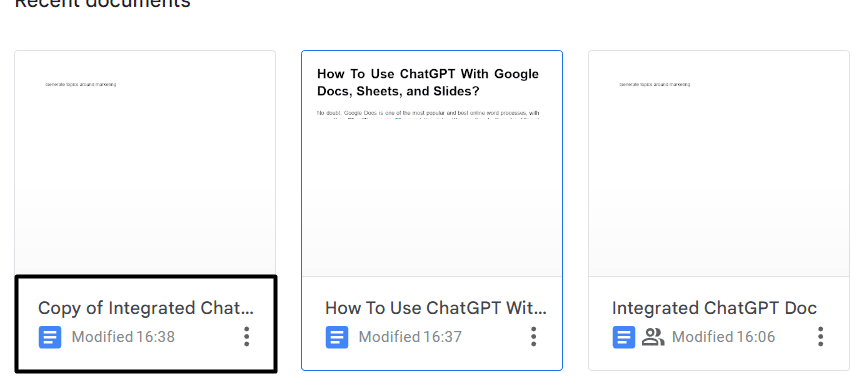
- Once done, move back to the homepage and open the copy of the document you created. You’ll find it named as a Copy of Integrated ChatGPT.
- You can now change the document name to whatever you want. After renaming the Google document to your choice, write your seed keyword or question in the same Google document that you want ChatGPT to answer.

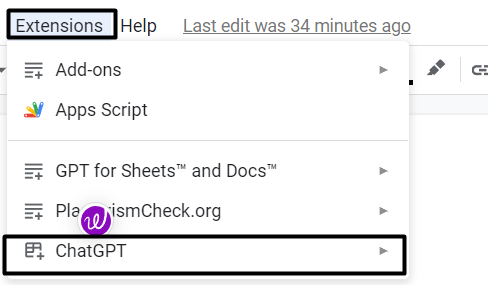
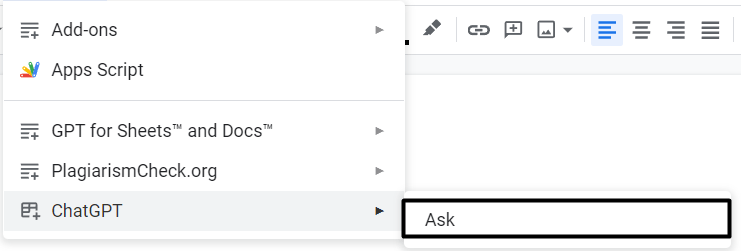
- Once done, select it, click on Extension (🧩) in the top ribbon menu, and then hover your mouse’s arrow on the ChatGPT option.
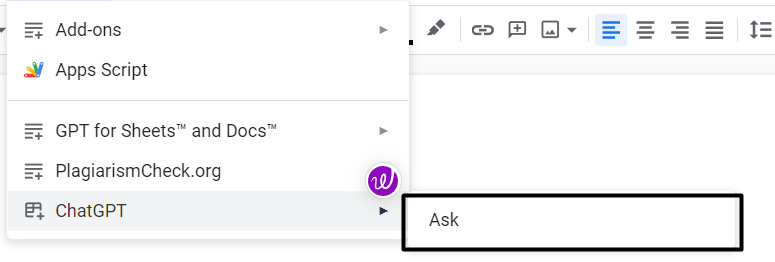
- After that, select Ask from the ChatGPT submenu, and then click on Review permissions in the Authorization required prompt.
- That’s it! You’ll now see the response to the question in the document. You can now continue writing and using ChatGPT.
How to Use ChatGPT With Google Docs?
Once you’ve integrated ChatGPT into Google Docs, it’s time to learn how to use it to make the writing process easier. In this section, we’ve explained how to use ChatGPT, which you added using any of the mentioned methods. You can jump to the method you used to add ChatGPT to your Google Docs and learn to use it. So, move ahead and follow the steps.
Method 1
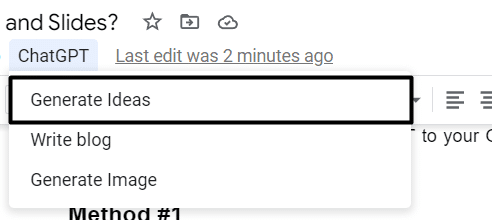
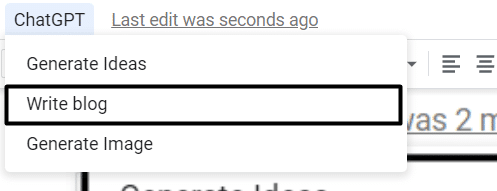
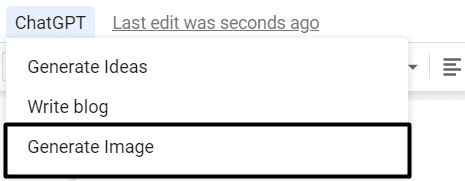
If you used the first method to add ChatGPT to your Google document, then you’ll see three options under the ChatGPT submenu. These options are: Generate Ideas, Write Blog, and Generate Image. Also, each option will have a different purpose.
If you want to generate topics for your blog, simply type the primary keyword or topics in the Google Document, and select it. After selecting the text, choose the Generate Ideas option from the ChatGPT dropdown menu and wait for it to generate topic ideas.
Moving ahead, if you want the ChatGPT to write an article for you, then select the primary keyword, and choose the Write Blog option from the dropdown menu.
In the end, the Generate Image button will create a custom image matching your main keyword.
Method 2
If you followed the second method to add ChatGPT to your Google document, then you would have already learned to use it by making some random clicks, as there’s nothing much to highlight. In case you still don’t know how to use it, then click on Extensions in the top menu and then select ChatGPT from it.
After selecting it, choose the question you want ChatGPT to answer, and then choose the Ask 🗣️ option from the submenu. You’ll now see the answer in your existing Google document. That’s all!
How to Add ChatGPT to Google Sheets?
If you want to add ChatGPT in Google Sheets, then again, there are two ways to do so. Here in this section, we’ve explained all the possible methods in detail, along with the screenshots. You can choose any method and add ChatGPT to Google Sheets.
1. Using GPT for Sheets and Docs Extension
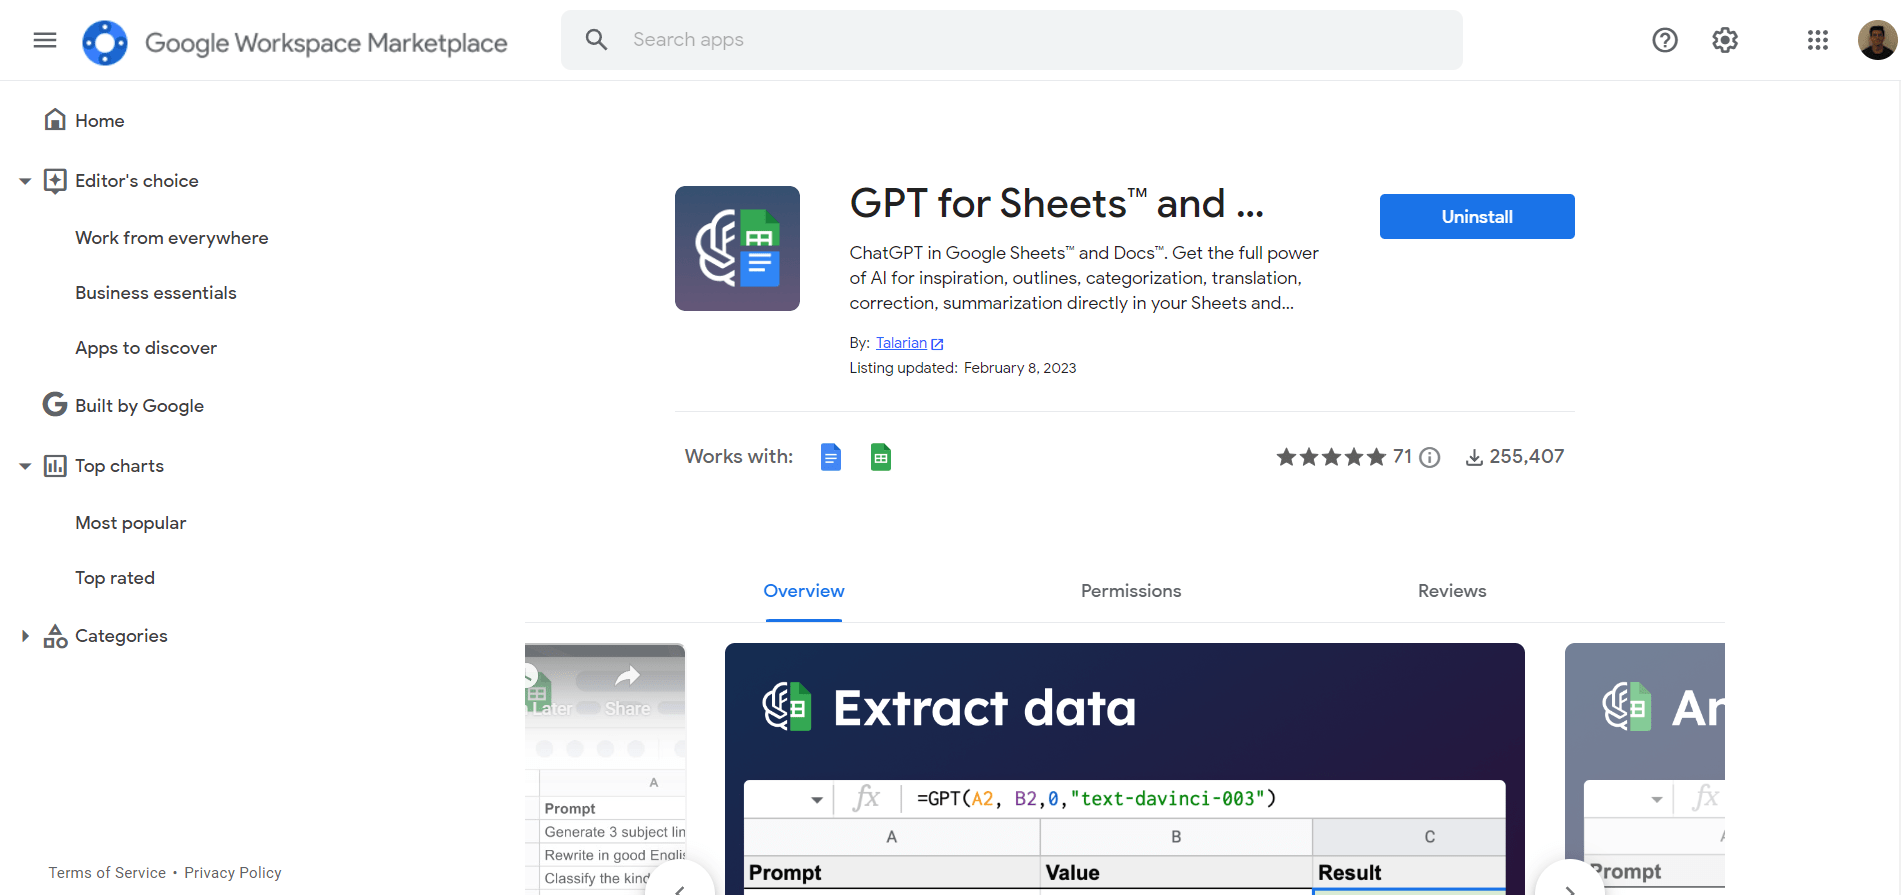
One of the easiest ways to add ChatGPT to Google Sheets is to install the GPT for Sheets and Docs extension. After installing this extension, you’ll be able to write product descriptions, extract data, analyze sentiments, summarize data, and much more with ease. So, follow the below-mentioned steps to install and use the GPT for Sheets and Docs extension:
- First, visit the GPT for Sheets and Docs extension page and click on Install to add it to Google Sheets.
- Next, open the sheets with which you want to use ChatGPT. Once the sheet is opened, click on the Extensions (🧩) option in the top menu.

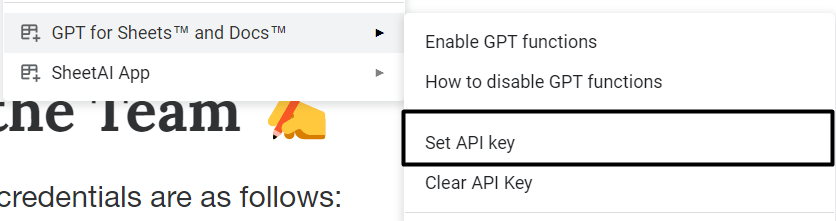
- After that, hover your mouse’s arrow on GPT for Sheets and Docs and then select the Set API key option from the dropdown menu.
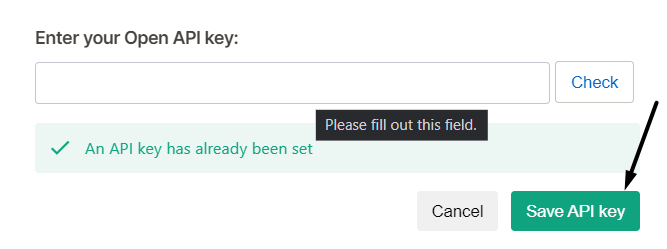
- Then, paste your OpenAI API key in the Enter your Open API key text box and click the Check button.
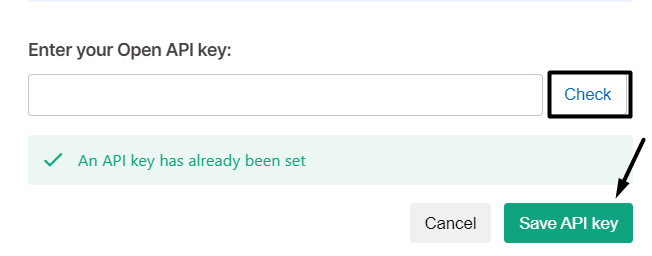
- Once done, click the Save API key button to save the key and then reload the page to view the changes.
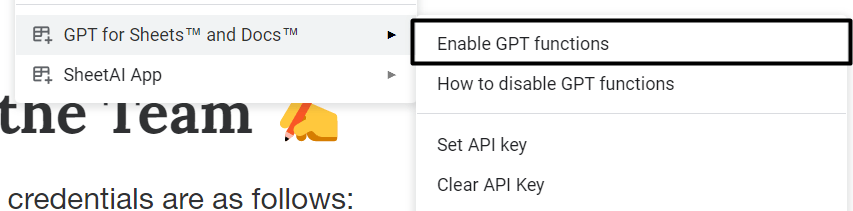
- Lastly, select the Enable GPT functions from the GPT for Sheets and Docs menu to use ChatGPT with Google Sheets.
That’s it!
2. Use ChatGPT inside Google Sheets with SheetAI
The last method to use ChatGPT with Google Sheets is using the SheetAI App add-on. SheetAI is a third-party extension that lets you use AI inside Google Sheets. You can use it to generate blog post ideas, write responses to online comments, summarize content, and much more within sheets with ease. You can check the below steps to know how to add the SheetAI App add-on to Google Sheets:
- Firstly, click Here to add the SheetAI App extension to your Google Sheets account and use ChatGPT.

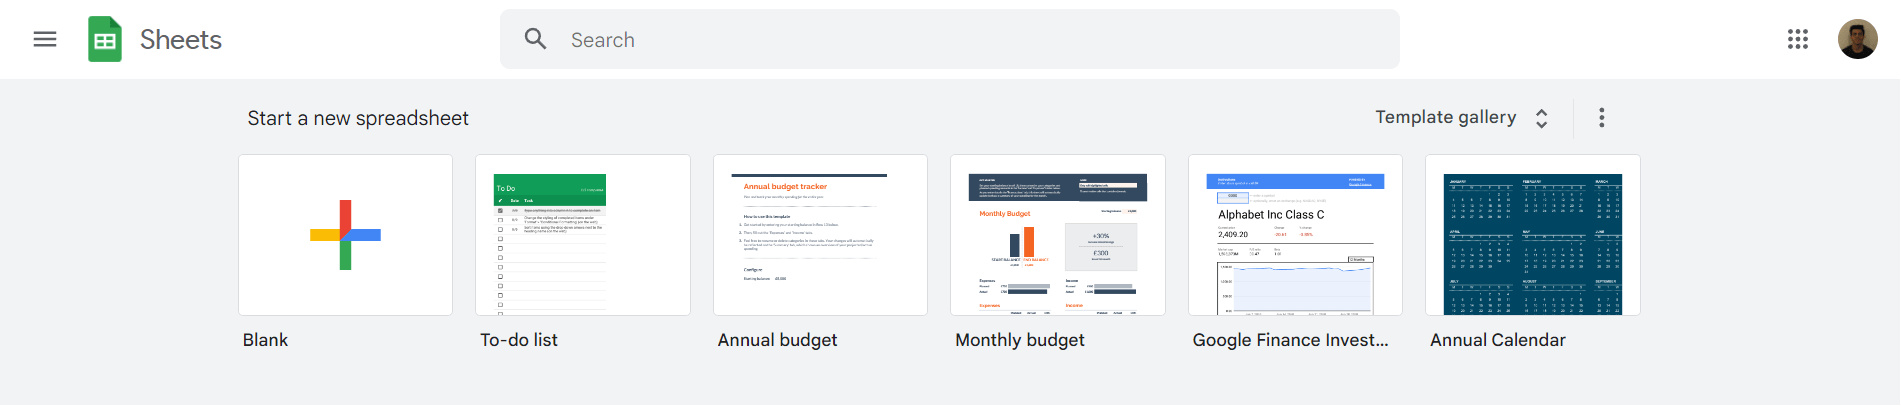
- Once the extension is installed, visit sheets.google.com on your web browser and open the Google Sheets inside which you want to use ChatGPT.
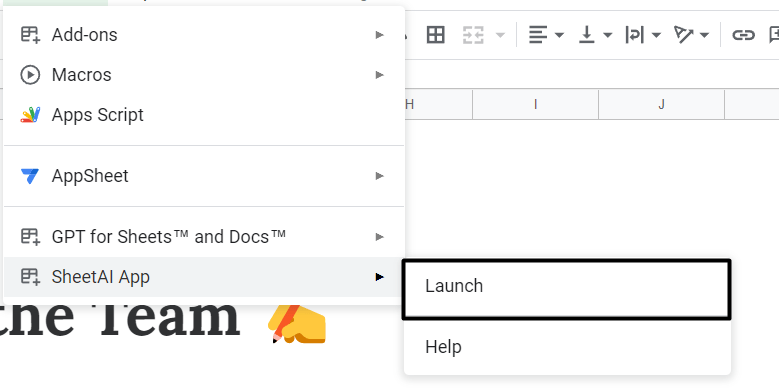
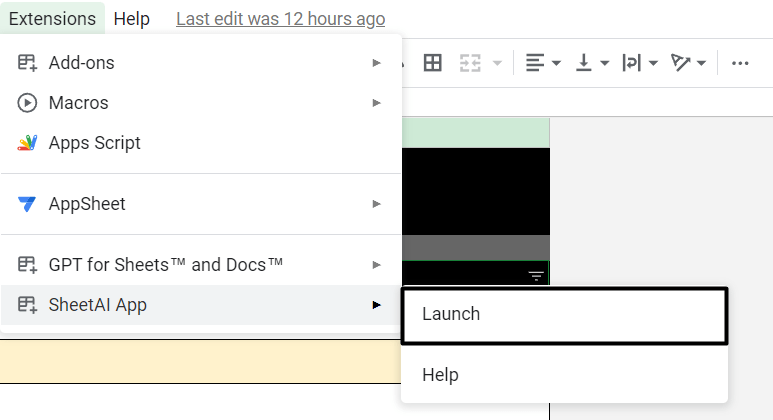
- After that, click on the Extension option in the top ribbon menu, and then hover the arrow on SheetsAI App.

- Then, select Launch from the SheetsAI App submenu, and then you’ll see the SheetAI App window in the left sidebar.
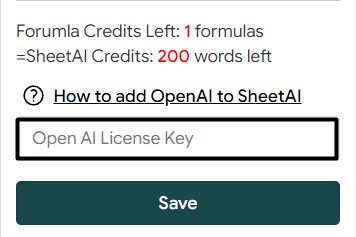
- In the end, copy-paste your OpenAI API key into the respective text box and click on the Save option.
That’s it!
How to Use ChatGPT With Google Sheets?
We shared two methods to add ChatGPT to Google Sheets. Here in this section, we’ve described how you now use it after following any of the methods mentioned above. So, move ahead and learn how to use it.
Method 1
If you used the first way to add ChatGPT to your sheet, then you can do a lot with it. One of the most common use cases is that you can ask it to write anything, like a tagline, essay on something, etc. You can also chat with it freely. Not only this, but you can also generate taglines, and blog topics, write emails, clean up your lists, summarize the content, and much more.
1. Chat With ChatGPT
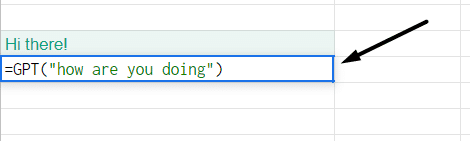
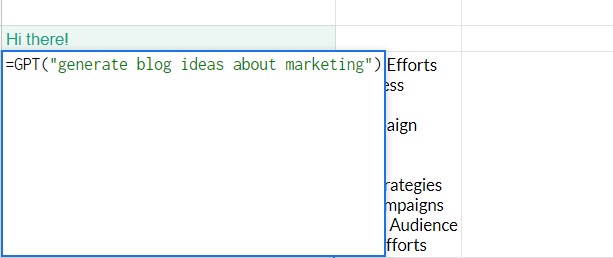
To chat with ChatGPT, simply type =GPT(“say hi”) in a cell, and it’ll respond immediately. Now, to continue talking with it, type =GPT(“[say what you want to say]”) and press the Enter key. Once done, it’ll respond to your question. We’ve demonstrated the same in the below-mentioned image.
2. Generate Creative Taglines
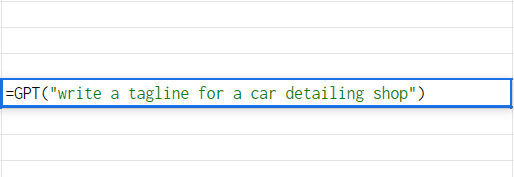
Let’s say you want ChatGPT to write a tagline for your new car detailing shop. In order to do so, you need to follow the below steps:
- So first, simply select the cell in your sheets in which you want it to generate the tagline, and type =GPT(“write a tagline for a car detailing shop”). Once entered, press the Enter key to get the results.
Note: You don’t need to add “[ ]” in the command.
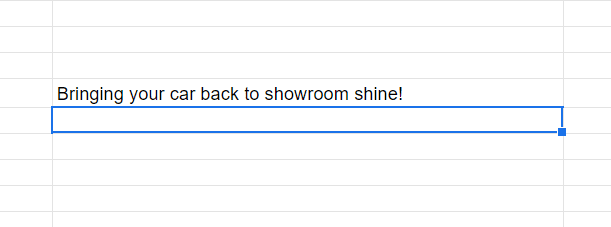
- After pressing the Enter key, you’ll see the results in the same cell in which you entered the command to generate the result.
- If you want to give instructions to ChatGPT about the tagline, you can do that. To do so, simply write the instructions in different cells, type =GPT(select the cells with instructions) in another cell, and press Enter.
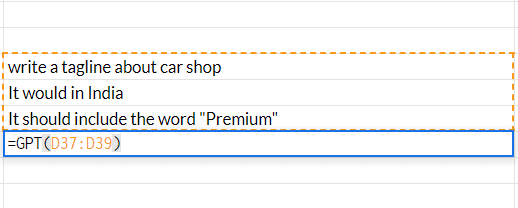
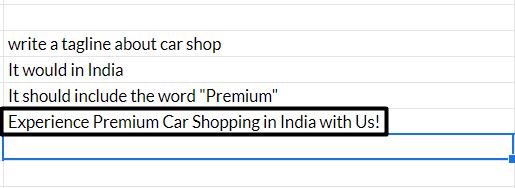
- After pressing the Enter key, it’ll generate a creative and interesting tagline based on your given instructions.
That’s it!
3. Generate Blog Ideas
Many of us use Google Sheets to keep track of blog topics. Luckily, you can now use ChatGPT to find new topics and automatically enter them in your sheet. For that, simply write =GPT(“[ask ChatGPT to list topics about your preferred topic]”), and press Enter. You’ll now see the list of topics in the same cell in the sheet.
Note: You don’t need to add “[ ]” in the command.
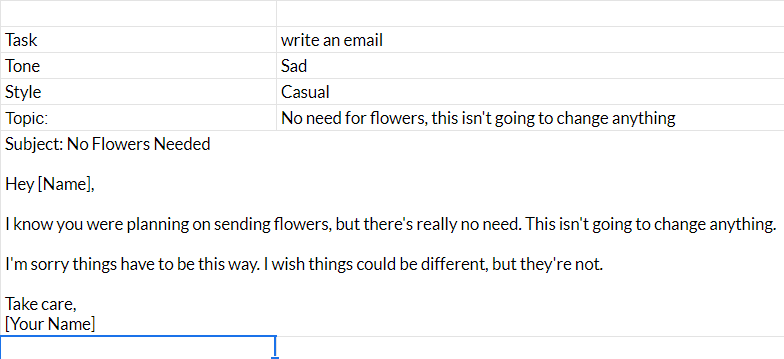
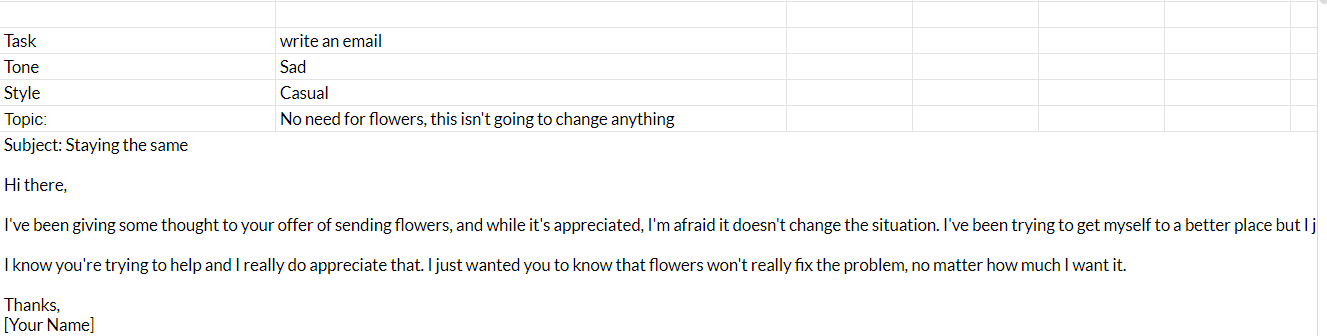
4. Write an Email
If you want to write engaging emails using ChatGPT in Google Sheets, then you can do that too with ease. You only need to share the topic with ChatGPT on which you want the email and the tone for the email, like casual, professional, or any tone. We suggest you follow the below-mentioned instructions to know how to do the same:
- To do so, simply write what is mentioned in the below-mentioned image in the Google Sheet. You can change the topic and tone according to your requirements.
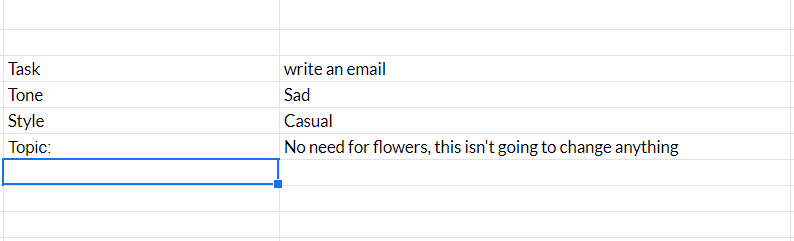
- After writing all this, type =GPT(select the cells with details) and then press Enter to generate the email.

You can check the results for the same in the below image:
5. How To Change the Creativity Level
One of the best features of the GPT for Sheets and Docs extension is that it lets you change your creativity level. No doubt, it would be creativity, but not so much. So, if you think that ChatGPT’s replies aren’t creative, then you can increase the creativity level.
You can set the creativity level between 0 to 3. By default, it would be set to 0. If you want to increase your creativity level, we suggest following the below instructions:
- To start, simply type what you want ChatGPT to write, and then type =GPT(select the cells with details, and set the Creative level).
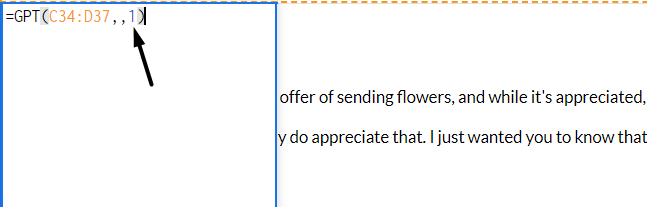
- Once done, press the Enter key, and the results will be something like this.
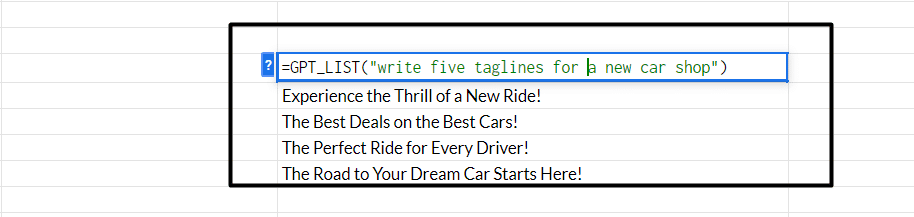
6. Write One List Item per Row
If you want to get one list item per row, then it does that too. This makes it easier to manage the data and keep track of it. For instance, you can ask ChatGPT to write five different taglines in five different rows. To start, type =GPT_LIST(“write five taglines for a new car detailing shop”) in a cell and press the Enter key.
Note: You don’t need to add “[ ]” in the command.
You’ll find the taglines for your topic in the next five cells. The below-mentioned image demonstrates the same:
7. Write Product Descriptions
If you want ChatGPT to write product descriptions for your product pages, then it has got you covered. You just need to give ChatGPT some examples, and it’ll do the rest itself with ease. For that, you need to use the =GPT_FILL command. You can check the below-mentioned instructions as they explain the same with ease:
- To understand it, create two columns: Products and Description. In the Products column, enter all your products’ names. And in the Description column, write a one-liner description for the first two products.
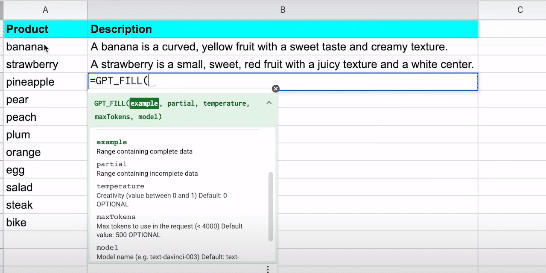
- Now, type =GPT_FILL(select those two cells in which you added the description, and then select the cells which are still empty) and press the Enter key.
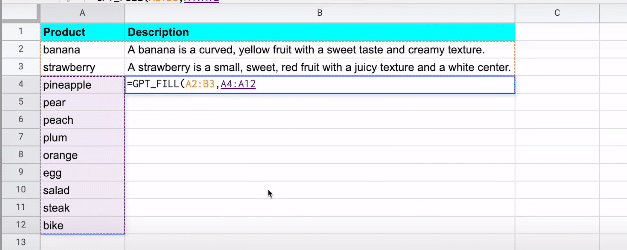
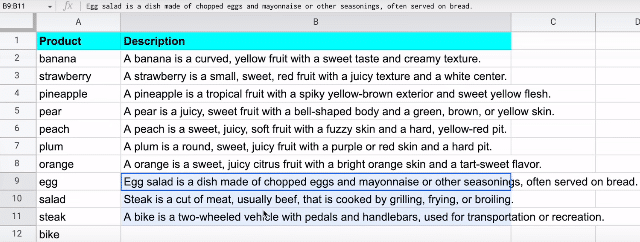
- You’ll now find the description for other products. You can check the results below and understand the same:
Method 2
If you added the SheetAI App extension to Google Sheets, then it’s pretty simple to use it. We suggest you follow the below-mentioned steps to learn how to use ChatGPT with Google Sheets using the SheetAI App extension:
- To start, click on the Extensions (🧩) option in the top menu and then hover your mouse’s arrow on SheetAI App.

- After that, select Launch from the SheetsAI App submenu, and you’ll see the SheetAI App window on the left side.
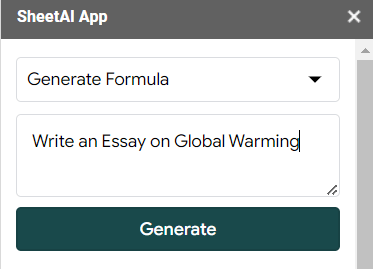
- Now, you need to command the SheetAI App to do something. For instance, if you want the SheetAI App extension to “Write an Essay on Global Warming,” simply type the same in the Generate Formula section.
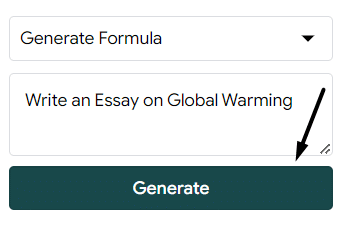
- Once done, click on the Generate (🔄) button and wait for the SheetAI App to generate the search results.
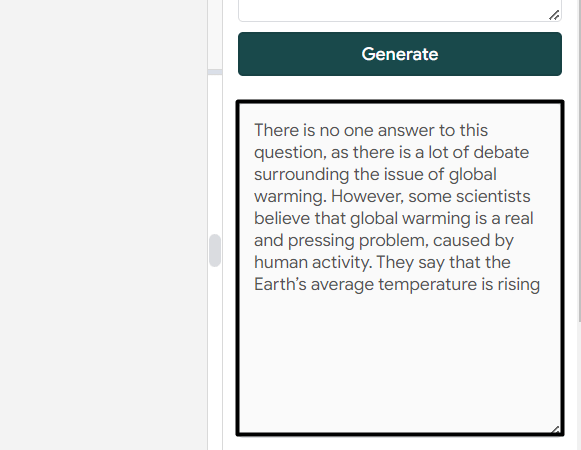
- You’ll now see the results in the text box. You can now copy the results generated by AI and use them anywhere in your Google Sheets.
That’s it!
How to Add and Use ChatGPT With Google Slides?
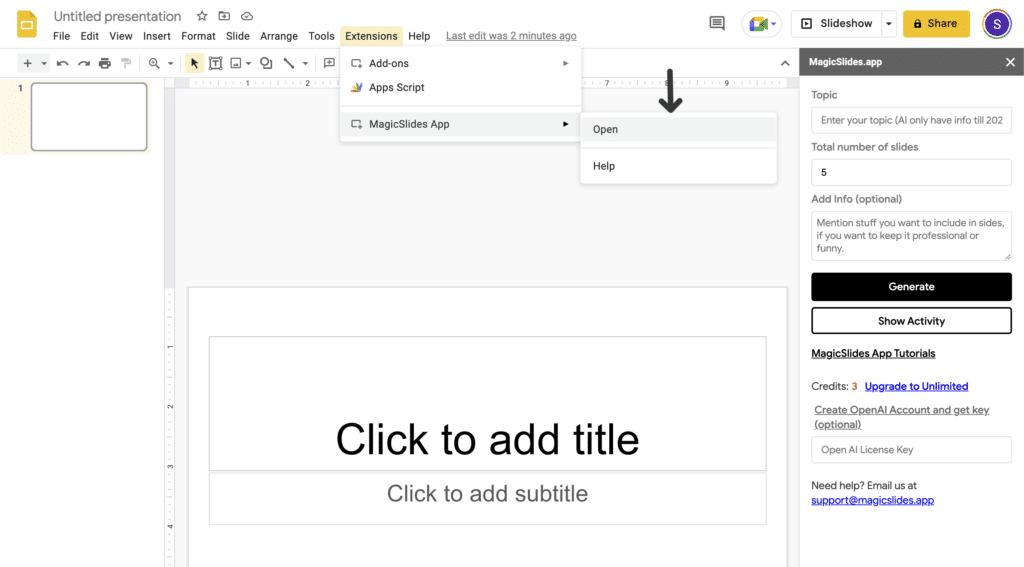
As for using ChatGPT to create presentations in Google Slides, one solution that we have found is the MagicSlides App which you can install from the Google Workspace Marketplace here. Upon installing the application you’re given 3 credits for generating presentations, and for more credits one would have to upgrade to the Unlimited subscription plan.
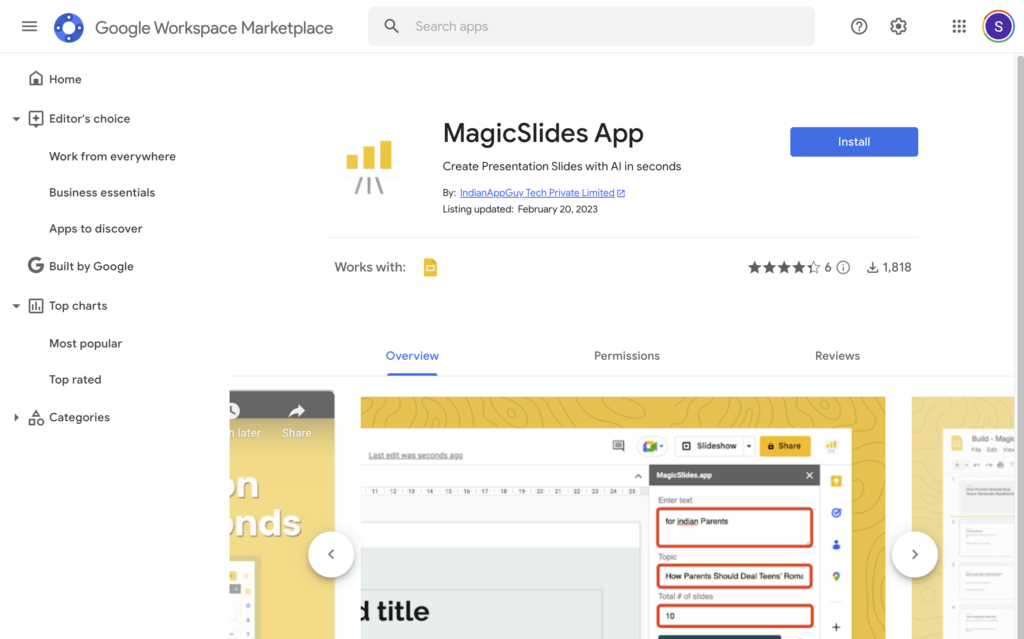
So after clicking Install on this page, follow the subsequent guided steps for authorising the extension and for adding it to your Google Slides dashboard. After that you should be able to see and open the extension in your Google Slides menu bar, under Extensions, MagicSlides App, Open.
Following that, the video below highlights how one can use the extension to create presentations on Google Slides automatically.
Conclusion
Nowadays, everyone wants to use the popular AI chatbot tool called ChatGPT because of its powerful capabilities. 🪄 As per them, it can help them make the writing process more interesting and efficient, which will save them a lot of effort and time. 😄 Due to this, they’re now looking for a way to use it with Google Docs, Sheets, and Slides.
If you were also searching for a way to use ChatGPT with Google Docs, Sheets, and Slides, then we hope the methods mentioned in this article helped you do so. 😉 Here in this article, we shared two methods 🛠️ to use ChatGPT with Google Docs, Sheets, and Slides.
If the above-mentioned methods helped you do the same, then make sure to share your experience with this guide by answering the below-mentioned questions ⬇️:
- Which of the ways mentioned above helped you use ChatGPT with Google Docs, Sheets, and Slides? 🤔
- Which of the above methods did you find the most useful and easiest to add Google Docs, Sheets, and Slides?
- Do you have any other way to use the ChatGPT tool by OpenAI with Google Docs, Sheets, and Slides? 🙂
if you’ve found this article helpful, don’t forget to share it in your circle.